


![]()
Product code:
E1
SCREEN E1 FOR LOGIS MINI
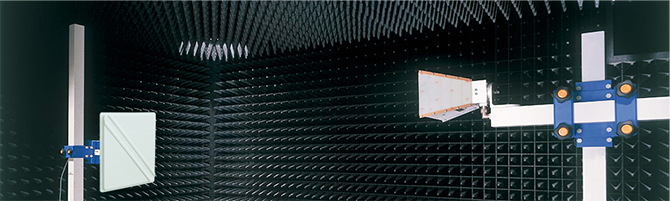
Omni-directional access points are often inadequate for the antenna. A Wi-Fi network design expert will select an antenna that will provide adequate coverage in a specific area and take into account the installation site. The antenna propagation patterns are important considering the amount of reflective material in stock.
electrical
Frequency band(s)
- 2400 - 2500
- 4800 - 6000
Frequency (min)
2 400MHz
Frequency (max)
6 000MHz
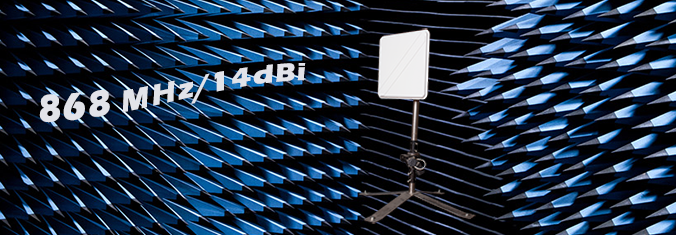
Gain
- 8dBi
- 11dBi
VSWR (max)
2.00:1
Polarization
Horizontal or Vertical
Half Power Beam Width (-3dB) - horizontal
- 40°
- 15°
Half Power Beam Width (-3dB) - vertical
- 76°
- 16°
FBR (Front/Back Ratio)
>30dB
Max Composite Power
2W
DC Ground
no
Impedance
50Ω
mechanical
Mounting Diameter
ø 38…51mm
Dimensions (excl. mount)
190x204x90
Weight (incl. mount)
0.38kg
enviromental
Enviroment
Outdoor, Indoor
Windload
130km/h
Temperature
-40°C ... 80°C
compliance
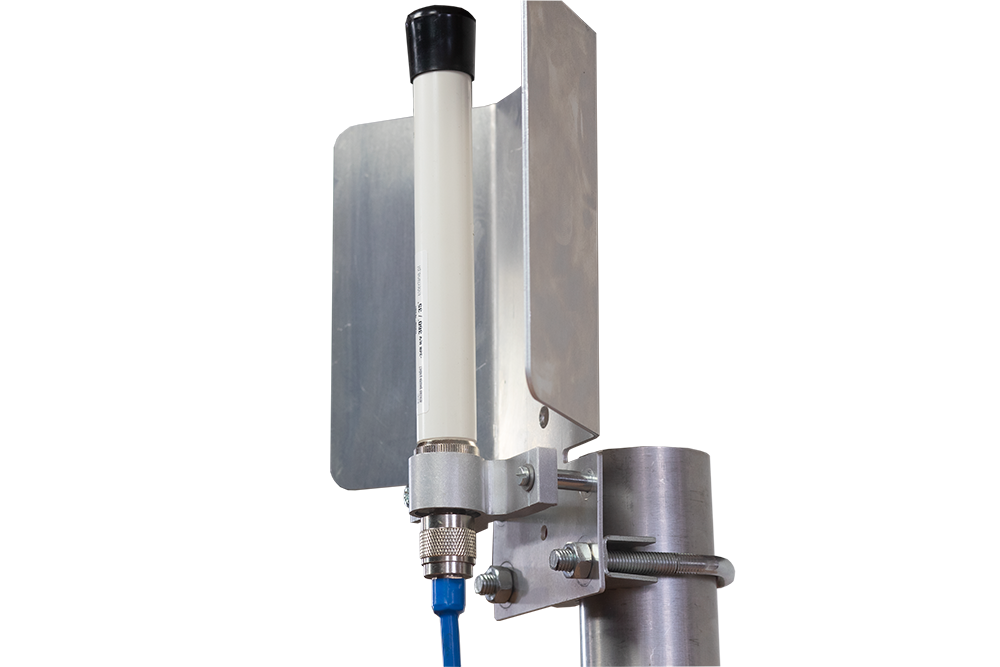
Instalation tips:
Fine adjustment of the antenna ensures the correct propagation of radio signals. Proper installation of the mast, antenna and cable provide a stable and proper operation of the antenna installation.Horizon series antennas can be mounted under the ceiling (vice versa) with the cable or jack upside down
- Level mast or boom using a bubble leveler.
- Assemble the antenna mount as on drawing.
- Level mast or boom using a bubble leveler.
- Assemble the antenna mount as on drawing.
- Mount antenna on the mast.
- Level the mast or boom, check antenna vertical position.
- Vent holes should be located at the bottom of the antenna.
- Screw the antenna to the mast, leaving slack in the adjustment of direction and inclination.
- Determine the direction and inclination.
- Finally tighten the mounting screws.
- Connect cable and insulate antenna connector.
- Fasten cable to the mast or boom.
- It is worth to note achieved link parameters.
11/09/2022 - 03:19